 After
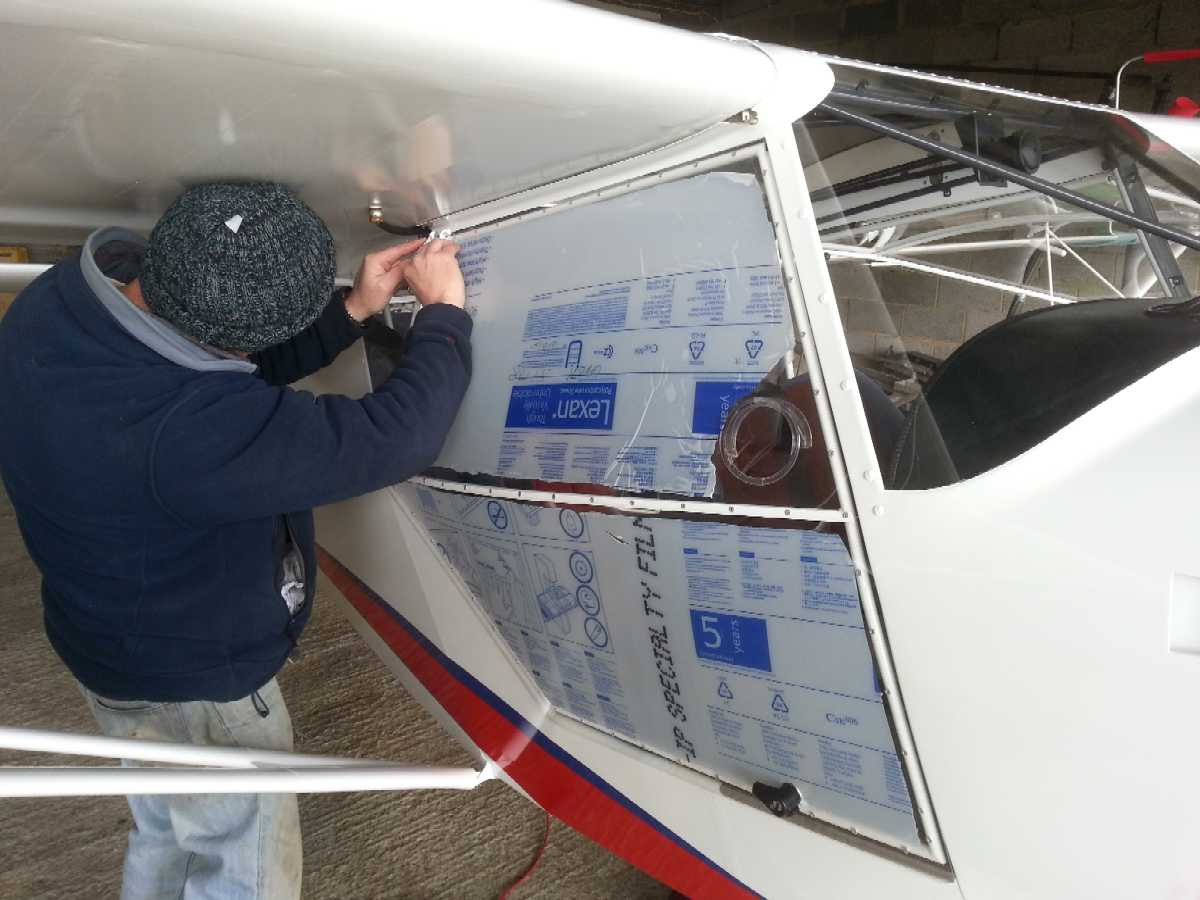
jury-wiring a temporary PTT switch for the radio, we fitted the seat tub and
the seats. The doors have now been fitted and their protective film removed.
They look fantastic and give great visibility.
After
jury-wiring a temporary PTT switch for the radio, we fitted the seat tub and
the seats. The doors have now been fitted and their protective film removed.
They look fantastic and give great visibility.G-UFOX - First Engine Start
A big day for us. A few jobs to get completed first.
We weren't entirely happy with the previous prop balancer, so I have made a new one (thanks to Murray for the nylon, and Dad/Adrian for the lathe). With my modified second attempt we have balanced the prop. This was then fitted, but we found a problem with the spinner mounting plate, so the spinner was left off.
After
jury-wiring a temporary PTT switch for the radio, we fitted the seat tub and
the seats. The doors have now been fitted and their protective film removed.
They look fantastic and give great visibility.
After some more checks we drag the plane
out of the hangar for the first time since we first got it. As the brakes have
not been fully tested and for security, we tie the rear end to a post and stake
the tether to the ground. 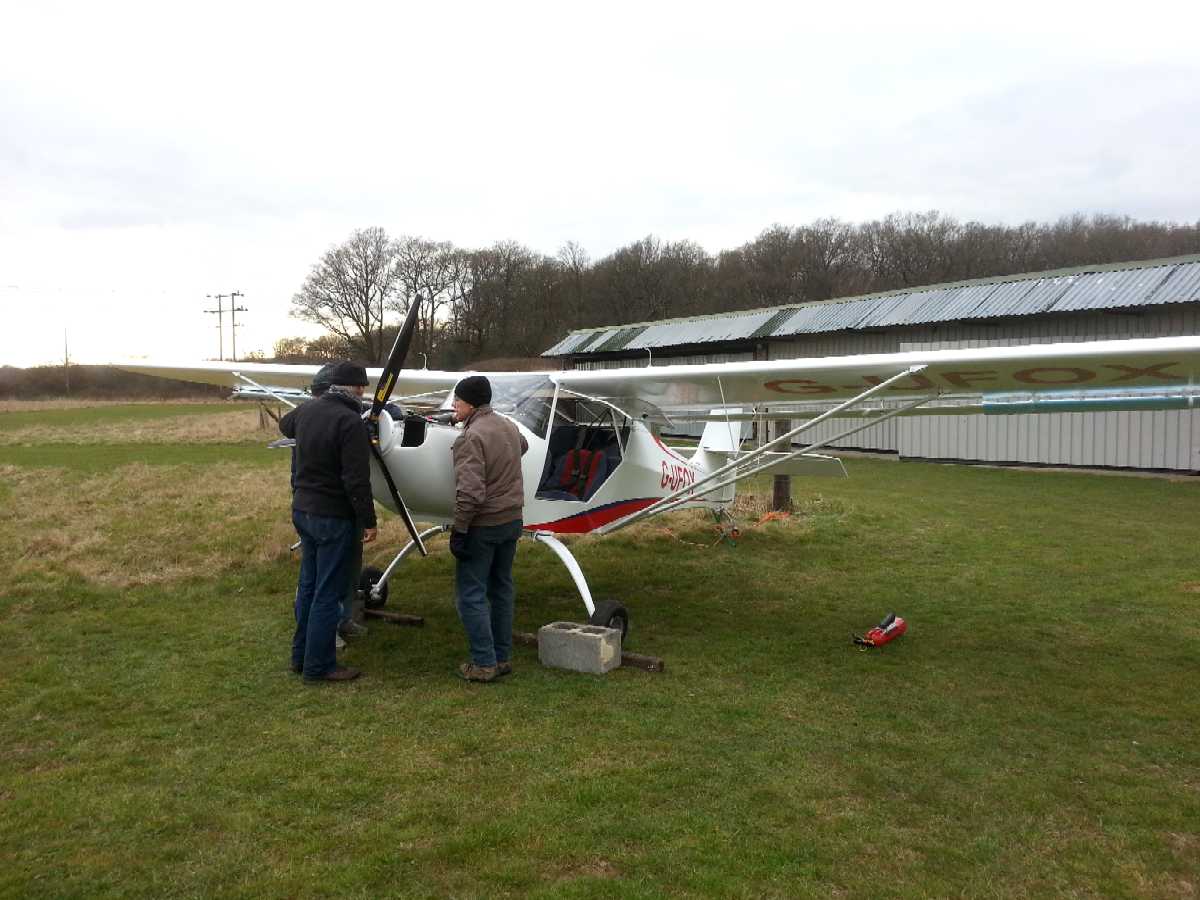 Wheel
chocks are used for the mains at the front.
Wheel
chocks are used for the mains at the front.
The first thing we need to do is test that we are getting oil pressure. The spark plugs are removed and the engine turned over on the starter motor whilst watching the oil pressure gauge - bad news - nothing shown. After some more tests and checking the sensor wiring continuity, we wheel it back into the hangar.
We don't know if it was reworking the pressure sensor connector (not a fan of this) or re-purging, but we get a good pressure reading even by just hand-turning the prop. We put it back together, re-fit the lower cowling and take it back out for another go.
 This
time we get good oil (and fuel) pressure straight away - hooray! We put thermal
paste on the plugs and refit them. Time for the proper test. Fire extinguishers
at the ready.
This
time we get good oil (and fuel) pressure straight away - hooray! We put thermal
paste on the plugs and refit them. Time for the proper test. Fire extinguishers
at the ready.
Choke out, mags on, brakes on, final check and I turn the key to the start position. The engine starts quickly and with a total lack of drama. Good oil pressure indicated, but Ian spots that we have a bit of a fuel leak and we rapidly switch off.
The problem is that it is leaking from the union of four pipes above the engine - this makes it difficult to pinpoint exactly which bit is leaking. And you can't get too close to the prop when running. First we think it is the heatshield covering that is stopping it seating correctly - quick trial - still leaking. After trying a couple more things we find it is the brass connector to the rear of the union block. We try tightening this but it still leaks. It's getting late (and cold) so we put it away for today.
More problematic than we would have hoped, but we are happy that the engine has been run (briefly) with four actual starts.
 The
next day we seal the union with PTFE tape. We are still trying to find out if
this is acceptable as a permanent solution, but will certainly work for the
immediate tests.
The
next day we seal the union with PTFE tape. We are still trying to find out if
this is acceptable as a permanent solution, but will certainly work for the
immediate tests.
The engine always starts easily and the battery is holding up well too. However, it takes an age to warm up on this particularly cold day. We cover the air intake for the oil cooler and this helps, but still quite slow. It also cools down very quickly.
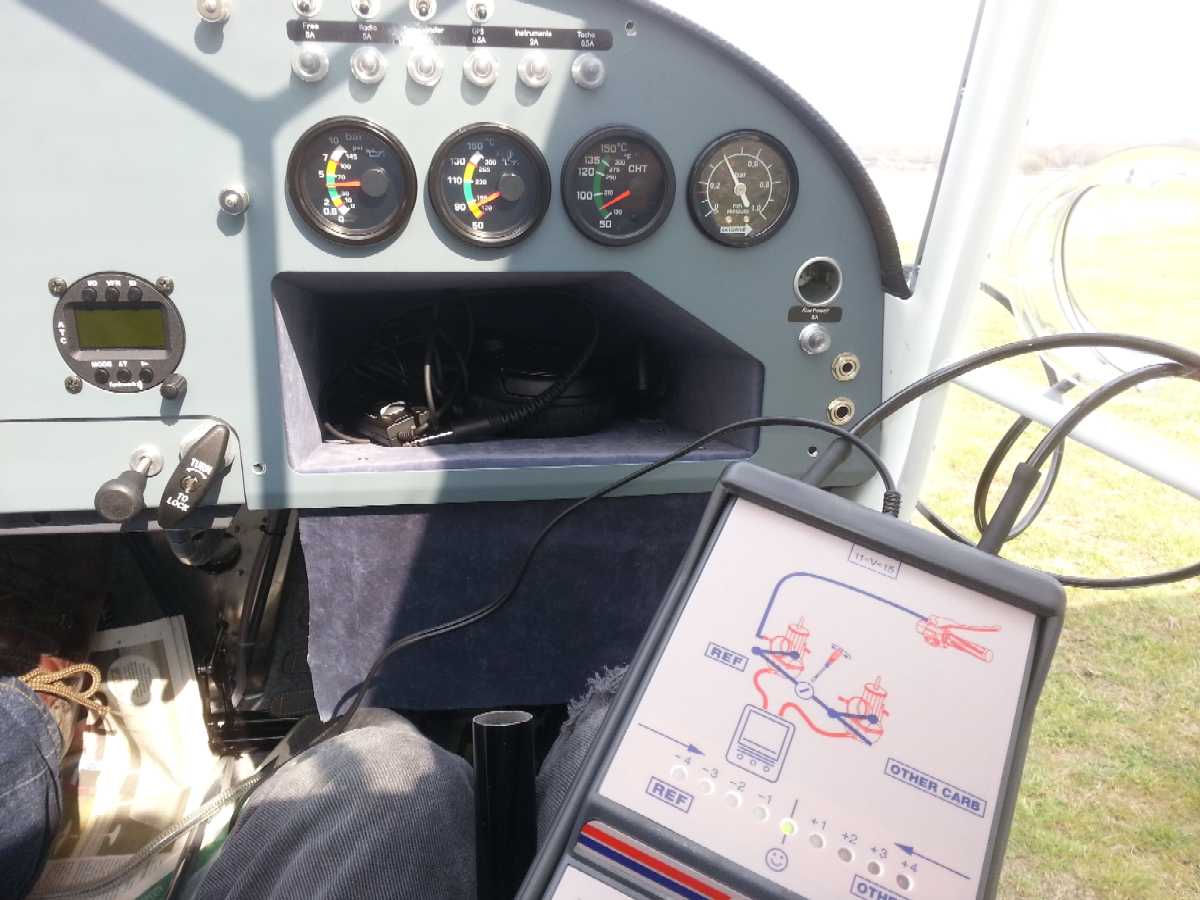 After
we are happy with this, we connect a carburettor balancing gauge and run the
engine to test this. Not too far our, but adjusting is a bit hit-and-miss, as
there is no way to tell how far to turn the screw to change the reading. It
also requires switching off the engine to make the adjustment, so a bit of an
iterative process. Once this is set, we then set the idle speed, again by adjusting
the main throttle cables and check the balance again.
After
we are happy with this, we connect a carburettor balancing gauge and run the
engine to test this. Not too far our, but adjusting is a bit hit-and-miss, as
there is no way to tell how far to turn the screw to change the reading. It
also requires switching off the engine to make the adjustment, so a bit of an
iterative process. Once this is set, we then set the idle speed, again by adjusting
the main throttle cables and check the balance again.
 Very
pleased with this, but time is getting on. George and I can't resist taking
her for a quick careful taxi. It seems to take a fair amount of revs to get
her moving, probably made difficult by the damp uneven ground or possibly prop
pitch. When turning at the threshold of the runway, the rate of turn is relatively
low, until you use one brake and the tailwheel becomes unlocked - she then swings
round virtually around the inside wheel.
Very
pleased with this, but time is getting on. George and I can't resist taking
her for a quick careful taxi. It seems to take a fair amount of revs to get
her moving, probably made difficult by the damp uneven ground or possibly prop
pitch. When turning at the threshold of the runway, the rate of turn is relatively
low, until you use one brake and the tailwheel becomes unlocked - she then swings
round virtually around the inside wheel.
Enough fun for today - great progress .